
100 Days of Python - Day 2: Simple Calculator
This is day 2 of 100! We already built a string printer for day 1, today we are going to work on a simple calculator! We are going to learn about:
- Algorithms
- Multi-line strings
- Getting user input
- Input validation
- Data type conversion
- try/catch error handling
- if/else statements
- functions
- returning values from functions
- return functions
🛠️ What are we building?
As I stated above, we are going to build a simple calculator in Python. Instead of just wandering along, and coding as we go like other tutorials, we are going to look at planning the application we build. I plan on doing that going forward, so be ready! 😊
As I stated before, this is a simple calculator. We want it to take two numbers, run the calculations, then print the result to the console. So, our basic algorithm will be like so:
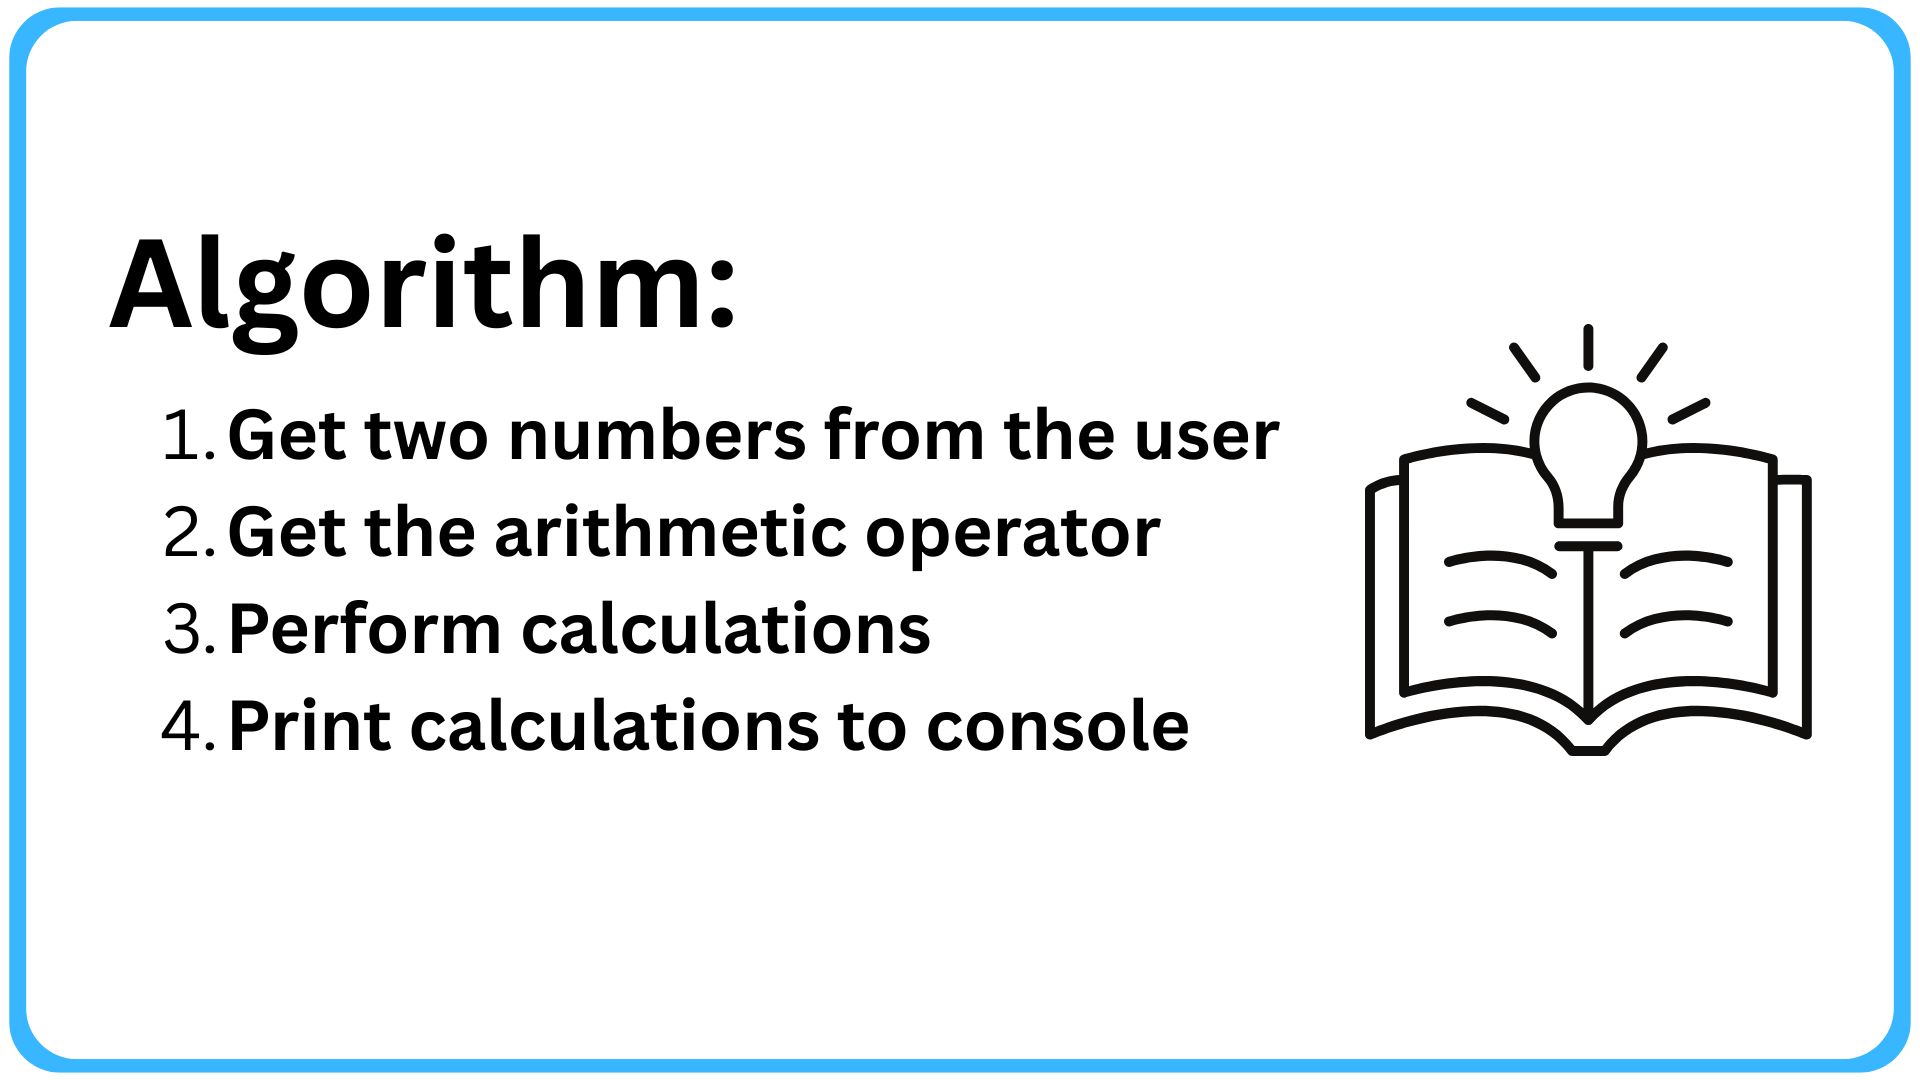
Seems easy enough right? And honestly, yes… this is typically what you will see when you follow your more basic tutorials. I don’t think that is good practice, and we won’t be doing that here. Going forward, we will list out a more detailed algorithm as part of our planning structure.
❓ What is an algorithm
You can skip this part if you are familiar with algorithms, but I wanted to touch a little on what an algorithm is. In Computer Science, an algorithm is a list set of instructions, used to solve problems or perform tasks, based on the understanding of available alternatives. (International Institute in Geneva, n.d.).
In its essence, it is going to be our steps for our program. While it is hard to envision the complete algorithm of a large project, what we want to do is try to incorporate all of the features and steps within the algorithm so we can develop the application with a clear picture of what we are creating.
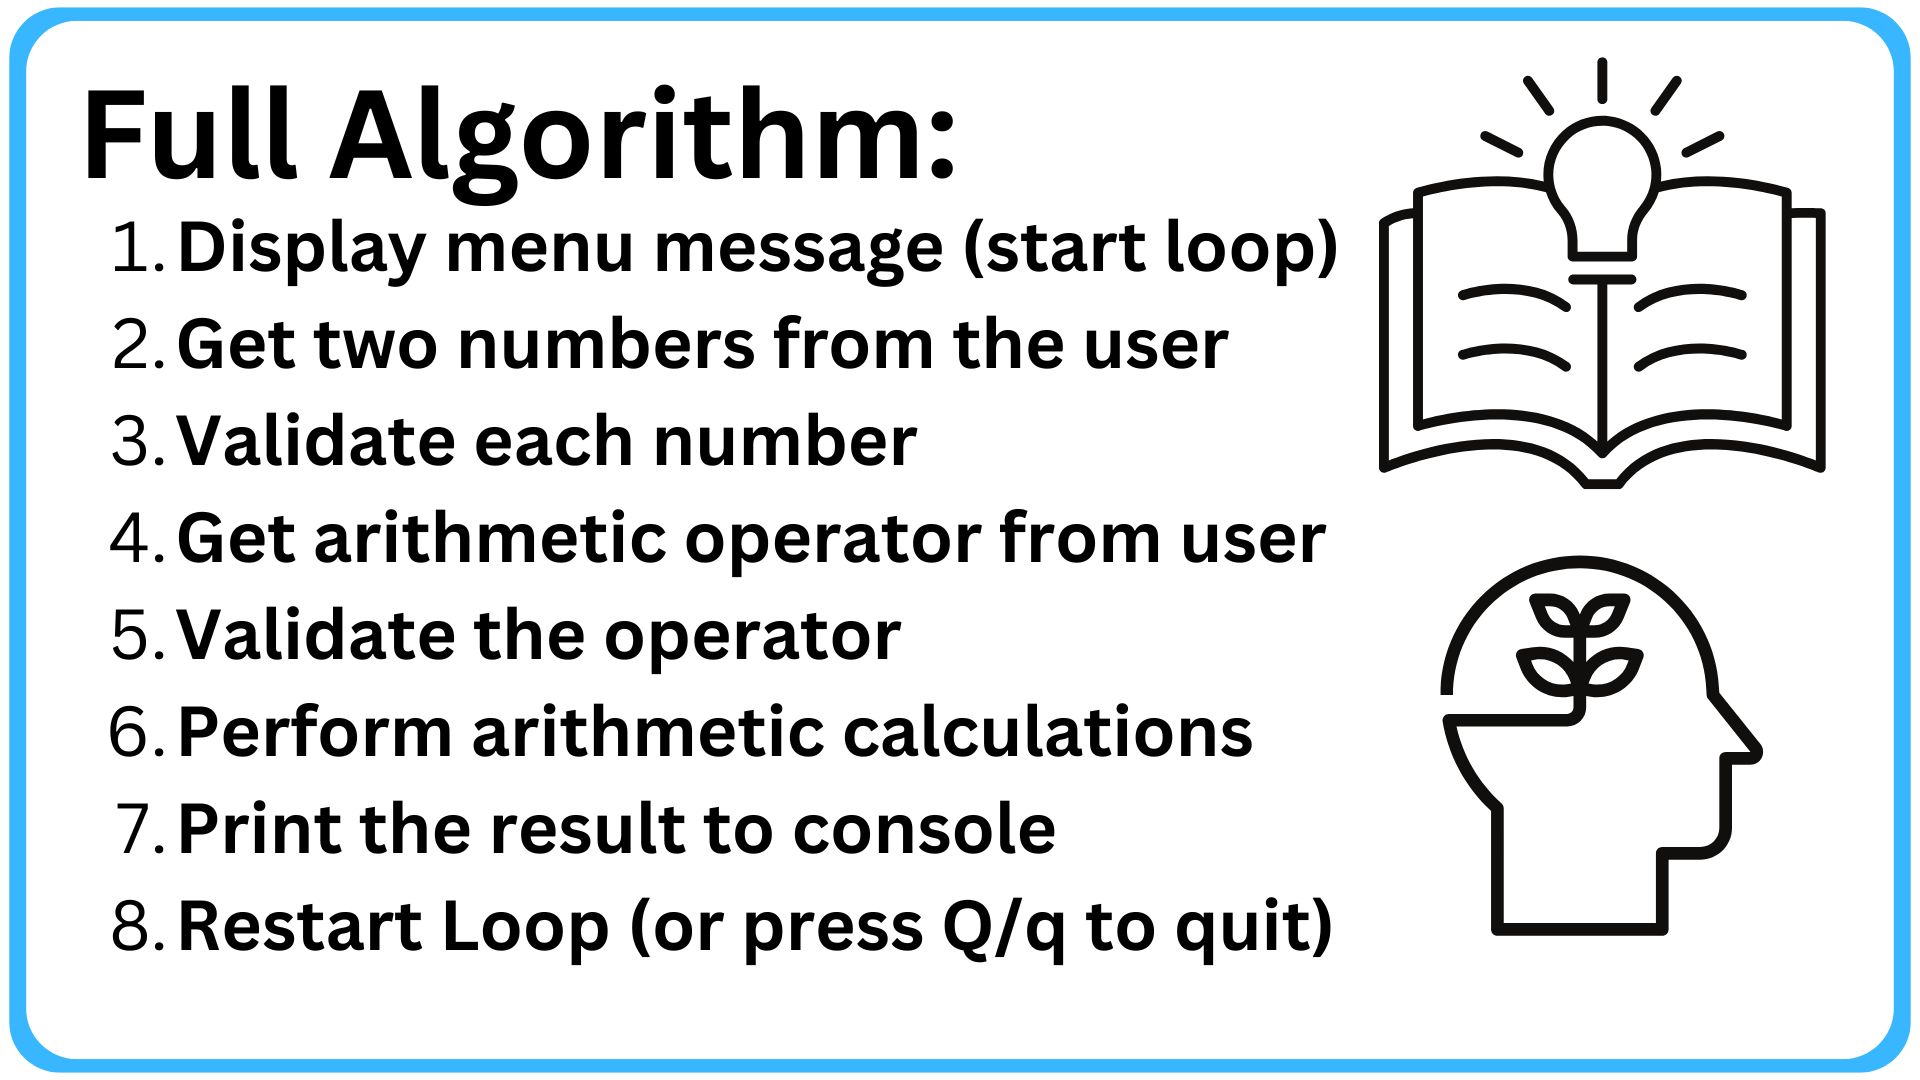
To make this simple, I created a very basic algorithm for our simple calculator below:
✏️ Let’s Create It!
Now, open your code editor and create a new project folder. Then, inside that folder create a new Python file, I named mine simpleCalc.py. First things first, let’s create the steps as comments inside of our application. While this won’t work well in a single file for giant projects (for organizational reasons), it will work perfectly fine for this.
# Display menu message (start loop)
# Get two numbers from the user
# Validate each number
# Get arithmetic operator from user
# Validate the operator
# Perform arithmetic calculations
# Print the result to the console
# Restart loop (or press Q/q to quit)
📺 Step 1: Display Menu Message
Our first step is to display the menu message, which is a string. I am going to create something new here, a multi-line string, to hold that message. A multi-line string is notated by using three double quotes (""") or three single quotes (''') for the variable value.
# Display menu message (start loop)
menuMessage = """
=================
Simple Calculator
=================
"""
This will save that message within our variable. Now, we need to get the loop started. In the last article, we learned about for loops. This time, we will utilize a while loop. A while loop executes the code over and over again while the condition is met. You could create an infinitely recurring loop if you only passed it True as the condition. We don’t want that, we want to be able to end the program.
Since we will need to call this and handle the rest of the program, we will make a new function here, and name it main(). As we previously learned, functions are blocks of reusable code that we don’t have to rewrite. Now, I am going to show you how to write your own using the def keyword.
# Display menu message (start loop)
menuMessage = """
=================
Simple Calculator
=================
"""

def main():
    print(menuMessage)
To see this in action, at the bottom of your program type in main() to call the function and run your program. You should see our menu message print to the console.
=================
Simple Calculator
=================
That is how you create, or define, our own functions in Python. We are going to continously add to the main() function as we build this application to give it the right logic. For now, on to the next step!
🔢 Step 2: Get Two Numbers from the User (input())
Next, we need to get those two numbers from the user using the input() function and we will create a function to do so (for a special reason!):
# Get two numbers from the user
def getNumbers():
    numberOne = input("What is your first number: ")
    numberTwo = input("What is your second number: ")
That is our basic input() function syntax. We are assigning the input() functions to a variable because it will return the string the user enters as a value. Inside the function, as the parameter, we include the text we want displayed to prompt the user for their input. For this, we only asked for the first and second numbers.
As it is now, it will not do anything with those numbers other than assign it to the variables numberOne and numberTwo. We are going to bring our validation step into this function and verify that the user’s text is indeed a number.
☑️ Step 3: Validate the Numbers
Validation, otherwise known as verification, is a way to verify that the user’s entry so it can work in the program without it causing it to crash. I am sure you have seen it on the web when you sign up for various services, the red box with an exclamation saying this is required, or use a valid email address. All of this is to ensure that you feed the program the data it requires for it to work as intended.
This project is no different. However, we won’t be delving into extreme validation cases yet. What we are going to do is check to see if we can convert the input to a float value by using try and except blocks.
Try and except blocks are similar to if statements in Python. They allow us to try running the code, and if the code fails it defaults to the except block because the Python interpreter has thrown an exception.
An exception is a fancy way of saying “Something out of the ordinary happened, let’s stop the program” and it doesn’t necessarily have to be an error. However, in this case we are going to use this as a way to handle errors when the input can’t be converted to a float. Let’s take a look:
# Get two numbers from the user
def getNumbers():
    numberOne = input("What is your first number: ")
    numberTwo = input("What is your second number: ")

    # Validate each number
    try:
        numberOne = float(numberOne)
        numberTwo = float(numberTwo)
        return numberOne, numberTwo
    except:
        print("You didn't enter numbers... try again.")
        return getNumbers()
Let’s take a moment to look at what we added so you can understand how this works.
- try: this is the code we are going to try to run. If it fails, then it will go to the
exceptblock - except: this is the code we are going run if the
float()function fails - float: this function converts the
stringuser input to afloatvalue. It will fail if it isn’t a number and throw an error (which is why we havetryandexceptblocks) - return: this one is special for functions. It allows us to effectively return a value from the function. Exactly how the
input()function returns the user’s input as a value for a variable, this will do the same. - return numberOne, numberTwo: We are able to return two or more values by separating them with a comma delimiter as shown above. This way we can have one function but return multiple values.
- return getNumbers(): If the user input fails, we need to return another instance of the
getNumbers()function. If we don’t then we won’t populate the variables we are going to create.
That is a lot to take in, but that is part of the learning journey. This is extremely important if you want to learn to code in Python. Now that our validation is done, we can move on to the next step.
🧮 Step 4: Get the Arithmetic Operator from the User
Now we need to figure out what kind of arithmetic the user wishes to perform. We will perform all of this similarly to how we handled the numbers.
# Get arithmetic operator from user
def getOperator():
    operator = input("Enter your operator (+, -, *, /): ")
We know that we need one of those four operators for this to work right. Now, we move on to validation. This time, we will use something a little different.
☑️ Step 5: Validate the Operator
We are going to use if statements to validate this since we are only look for four different values.
# Get arithmetic operator from user
def getOperator():
    operator = input("Enter your operator (+, -, *, /): ")

    # Validate the operator
    if operator in ["+", "-", "*", "/"]:
        return operator
    else:
        print("You didn't enter a valid operator... try again.")
        return getOperator()
Very similar to the try and catch blocks from earlier, we are using if then else blocks that handle logic the same way. The difference here is if is a conditional statement. It only runs if the value is true, otherwise it defaults to the else statement. There is also elif which is short for else if and can give you more control over more conditions. However, in this situation we only need these two.
if the operator is in our list of allowed operators, then return the operator. Otherwise, restart the process because the input is incorrect.
🧮 Step 6: Perform the Arithmetic
Now that all of the harder stuff is out of the way, we can do the math easily by incorporating another if conditional statement.
# Perform arithmetic calculations
def calculate(numberOne, numberTwo, operator):
    if operator == "+":
        return numberOne + numberTwo
    elif operator == "-":
        return numberOne - numberTwo
    elif operator == "*":
        return numberOne * numberTwo
    elif operator == "/":
        return numberOne / numberTwo
Here, we will use the elif statement because we don’t want a “catch all” else statement. We will only run this code if the operator equals one of our previously chosen allowed operators.
The parameters for the calculate() function are:
- numberOne: The first number the user entered
- numberTwo: The second number the user entered
- operator: The operator the user entered
That’s it! This step was simple!
*Note : I wanted to let you know why the operators will work when we originally got the input as a string. Before we used the return statement in the getNumbers() function, we converted the strings to a float value. This made them number values prior to even assigning them to variables outside of that function.
🔢 Step 7: Print the Result
Before we get too far ahead of ourselves, we should populate the main() function to handle all of this new functionality so the program actually works.
# Display menu message (start loop)
menuMessage = """
=================
Simple Calculator
=================
"""

def main():
    print(menuMessage)
    numberOne, numberTwo = getNumbers()
    operator = getOperator()
    result = calculate(numberOne, numberTwo, operator)
We are assigning numberOne and numberTwo the values from getNumbers() and operator the value from getOperator() function. Then, after the calculation is complete it will return the arithmetic result to result from the calculate() function.
This is all well and good, however we need to actually print it to the console… easy enough!
# Display menu message (start loop)
menuMessage = """
=================
Simple Calculator
=================
"""

def main():
    print(menuMessage)
    numberOne, numberTwo = getNumbers()
    operator = getOperator()
    result = calculate(numberOne, numberTwo, operator)

    # Print the result to the console
    print("The result is: " + result)
We can just add a print() function there and it can handle printing the result!
Step 8: Handle the loop
This is where our application acts like a bigger application. It can run as many times as we want when we set up loop handling. Like I said before, we are going to handle this with a while loop. First, we create a variable named running and assign it True as a boolean value.
To do this, we will head down to our main() function to add this functionality.
def main():
    running = True

    while running == True:
        print(menuMessage)
        numberOne, numberTwo = getNumbers()
        operator = getOperator()
        result = calculate(numberOne, numberTwo, operator)

        # Print the result to the console
        print("The result is: " + str(result))
Just an FYI, the == operator is an “equal to” operator, not an assignment operator (=). This means while running is True, we we constantly run the code inside it.
Great, now we can run our program… forever… and ever… and… ever…
Wait, we need to add a way to quit the program!
Like I said before, we need to make it where if the user enters Q or q then the program ends. We can do that with more validation!
def main():
    running = True

    while running == True:
        print(menuMessage)
        startProgram = input("Press enter to start, or Q/q to quit:")
        if startProgram == "Q" or startProgram == "q":
            running = False
        else:
            numberOne, numberTwo = getNumbers()
            operator = getOperator()
            result = calculate(numberOne, numberTwo, operator)

            # Print the result to the console
            print("The result is: " + str(result))
Now, when the program starts we just press Enter to begin, otherwise we can enter Q or q to quit the program. Let’s run it and see what happens.
=================
Simple Calculator
=================

Press enter to start, or Q/q to quit:
What is your first number: 1
What is your second number: 3
Enter your operator (+, -, *, /): *
The result is: 3.0

=================
Simple Calculator
=================

Press enter to start, or Q/q to quit:q
It works! Congratulations, we just went over plenty of great topics in Python and software development in general. You should be absolutely proud of yourself! While this isn’t the biggest project, it isn’t the smallest either!
Day 2 of 100 complete!
💻 Where to Find the Code
You can find the code for this project here on my GitHub page!
Good luck on your development journey, and thanks for letting me be a part of it!
⏬ Sources
- International Institute in Geneva. (n.d.) Algorithm & computer science. International Institute in Geneva. Retrieved from https://www.iig.ch/en-en/blog/computer-science/algorithm-computer-science-definition-and-understanding on July 14, 2025.